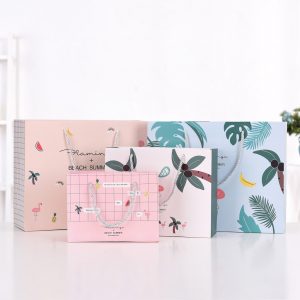
There is a saying that practice makes perfect, some of the long-term accumulation of tote bag making skills, let’s share the experience together!
The first is the manufacturing and processing skills of handbags. It is difficult to print on the width of about 1 cm. The width of the mouth is difficult to print. There are other color codes and rules outside the scope of the finished product. For this need, the paper is cut more than the finished product. To be larger, use a die cutter or paper cutter to cut off the rest of the waste paper during post-press processing.
The following is the indentation processing of the handbag. If thick cardboard is used instead of the indentation line, then the indentation and die-cutting cannot be performed at the same time. Therefore, the handbag is usually processed by indentation rather than die-cutting.
If the excess waste paper is cut off before the indentation, it will affect the accuracy of the indentation. If it is left to cut after molding, the paper will be prone to deformation and difficult to cut. Therefore, the paper is usually cut to the same size as the finished product before printing, so that the paper needs to be indented after printing, and there is no need for cutting.
The length, width and height of the rectangular handbag are abh, and the abh of the finished product size and the AB size of the finished product are converted in this way: the length after expansion A=2×(a+b) + the adhesive opening on the side, after unfolding Width B=bottom+h+folding, the side sticking mouth is usually 2 cm, and the folding mouth is usually 5 cm. If the size of the open paper is too tight, the adhesive and folds on the side can be narrower, or wider if the tote bag is large. The bottom of the handbag = bottom adhesive opening + 0.5×b. The adhesive opening at the bottom is usually about 1 cm. If the handbag is larger, it can be slightly wider.


